“This is Sevatar to the fleet. Let me be clear, brothers and sisters. I am not losing to these pious, deluded, rag-wearing whoresons twice in the same month.”
Jago Sevatarion, Prince of Crows
Legiones Astartes Night Lords
The Armies
For this mission, all Commanders should compose an Engagement Force from their Battle Company’s Regimental Registry, adding any additional Conscripts to their armies from the list of approved Horus Heresy publications provided by the Event Organizer (EO). The total points cost of the Engagement Force should not exceed 3,000 Points.
The Defender may, if they wish, make use of a single Fortification choice in addition to their primary detachment, taking any enclosed Fortification type available (especially an Imperial Bunker, Vengeance Weapon Battery, Firestrom Redoubt, Hamerfall Bunker, etc). They may also take two Units of Legion Tarantula Sentry Gun Batteries to represent close defense turrets mounted on the exterior of the warship.
Finally, both the Attackers and Defenders may take a single Unit of the Vehicle (Flyer) type despite the restriction of the Zone Mortalis game mode, entering the board as per normal. This represents the near-hull dogfights that often break out as a means of covering action for such a breach.
The Battlefield
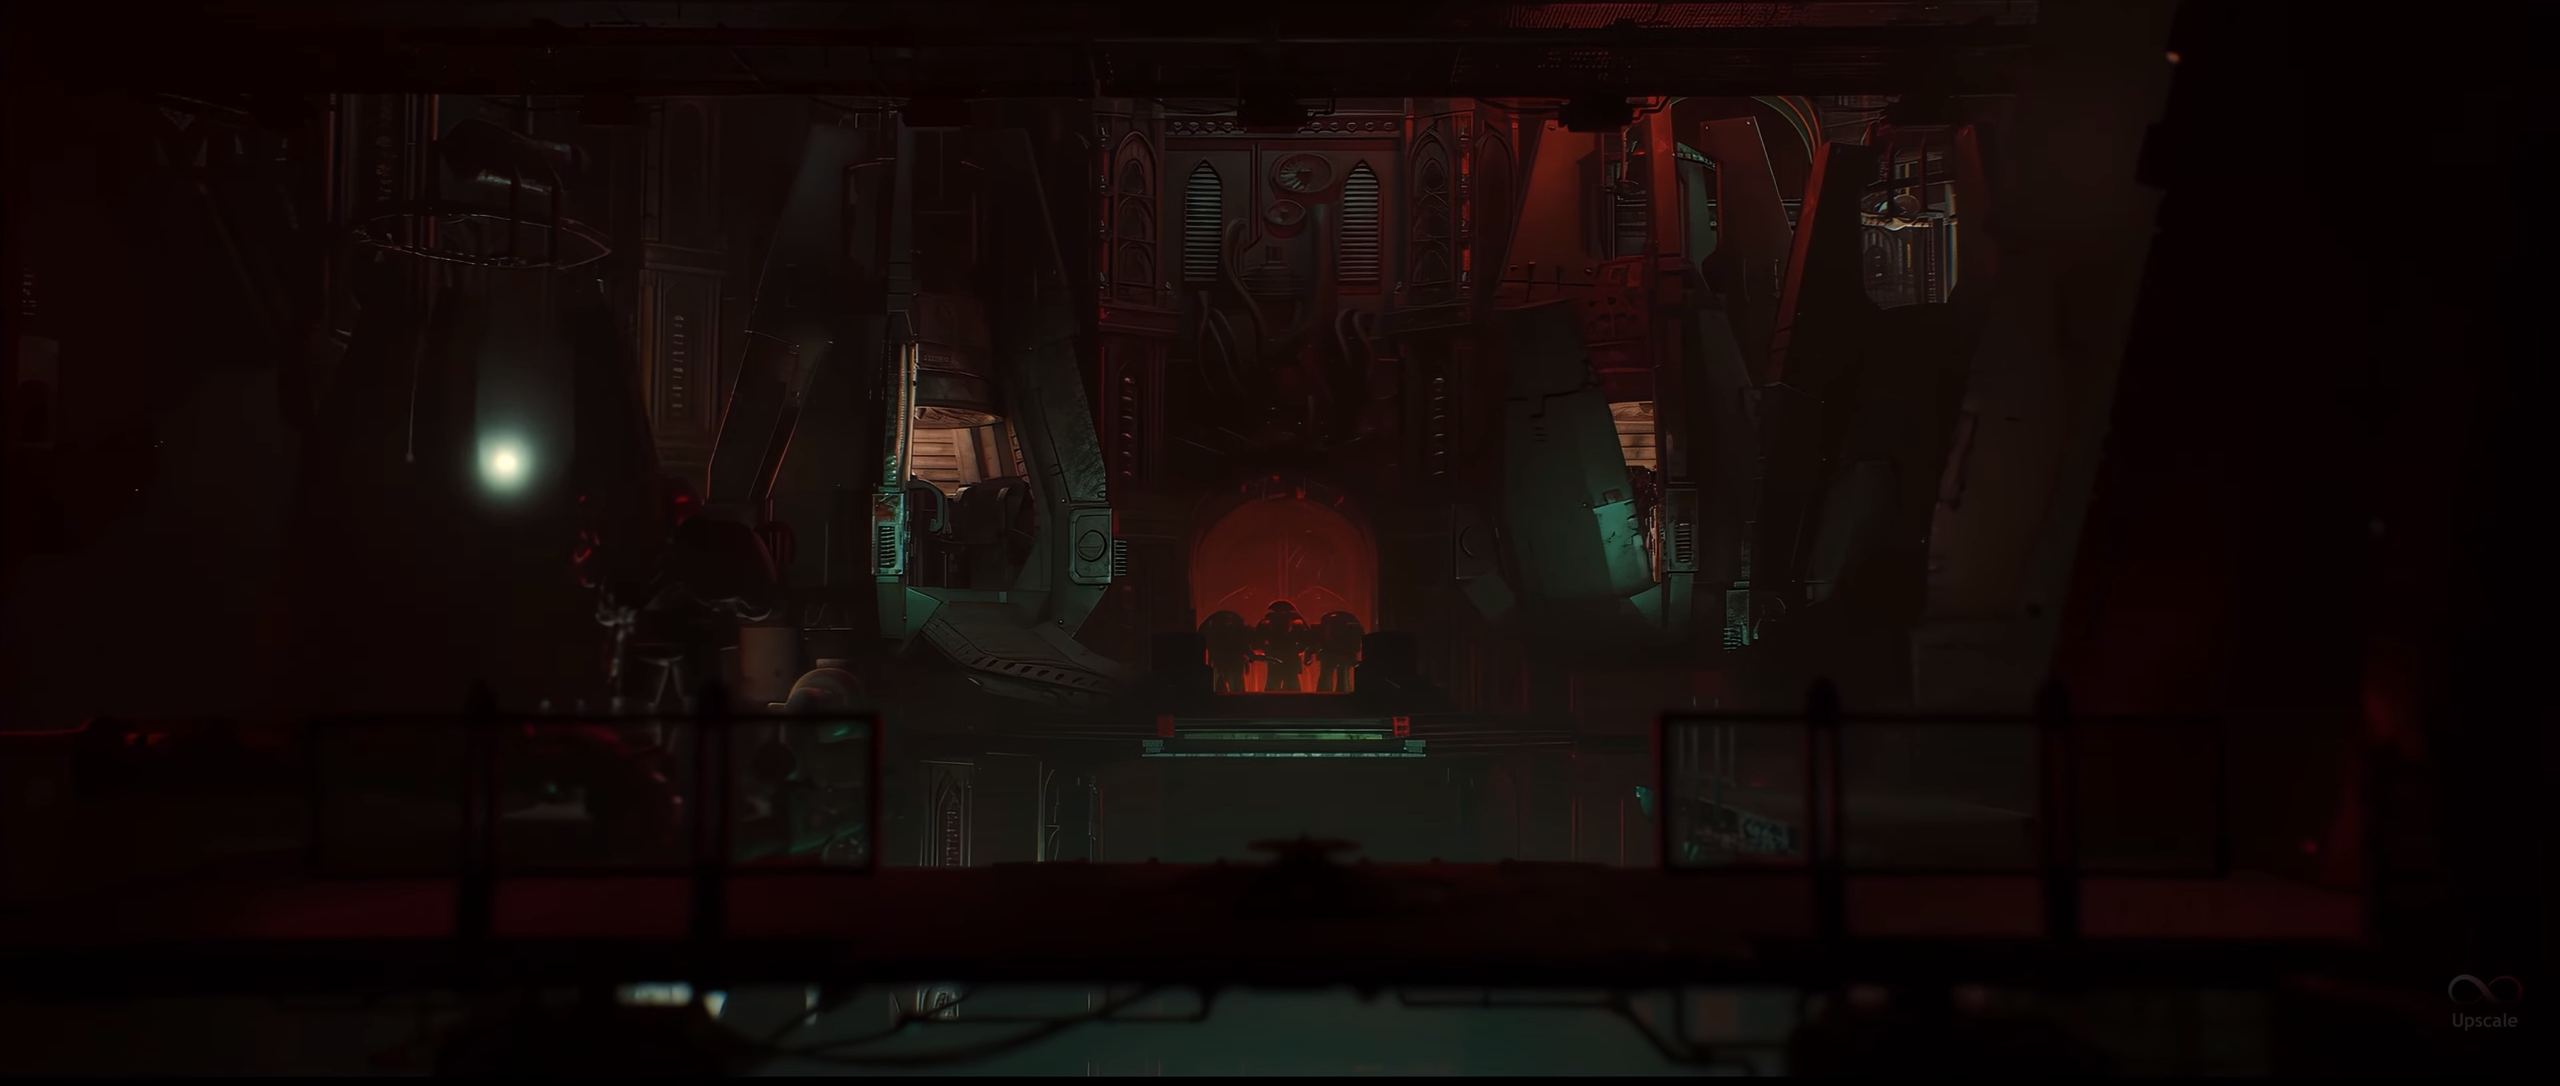
The playable area is defined as a 4’ x 4’ square area, or a total of 9 square feet in a custom orientation. Instead, the table should be setup to represent the outer surface of the target voidship. No more than a quarter of the total surface area should be taken up by terrain, and this should be appropriate to the setting- sensor vanes, armoured crenulations, observation domes and the likes are all entirely acceptable, but no loose items or ‘natural’ features should be used.
Deployment (Killing Blow)
An objective marker representing the point at which the attackers are attempting to cut their way through the ship’s armour or force their way into a vulnerable access point should be placed in the centre of the table. The Attacker then deploys their entire army within 18” of the objective.
The Defender places any Fortifications chosen anywhere on the table outside of 18” of the centre point. However, these may not be occupied and their weapons are always fired in the Automated Fire mode. The remainder of the Defender’s army enters play from reserve. When available, each unit enters play from a randomly determined table edge (roll a Scatter dice for each arriving unit, the arrow indicating which table edge is used).

Special Rules
- Zone Mortalis (Ignore Catastrophic Damage Tables)
- Reserves (Defender Only; Except for Flyers)
- Outer Hull (see the Blood in the Void expansion)
First Turn
The Attacker has the first turn; their opponent, the Defender, may attempt to Seize the Initiative.
Game Length
After five turns, roll a D6. On a 4+, a sixth and final turn is played.
“Wipe Out!”: Regardless of any other condition, if at the end of the game your enemy has no units left on the table then you are victorious!
Victory Conditions
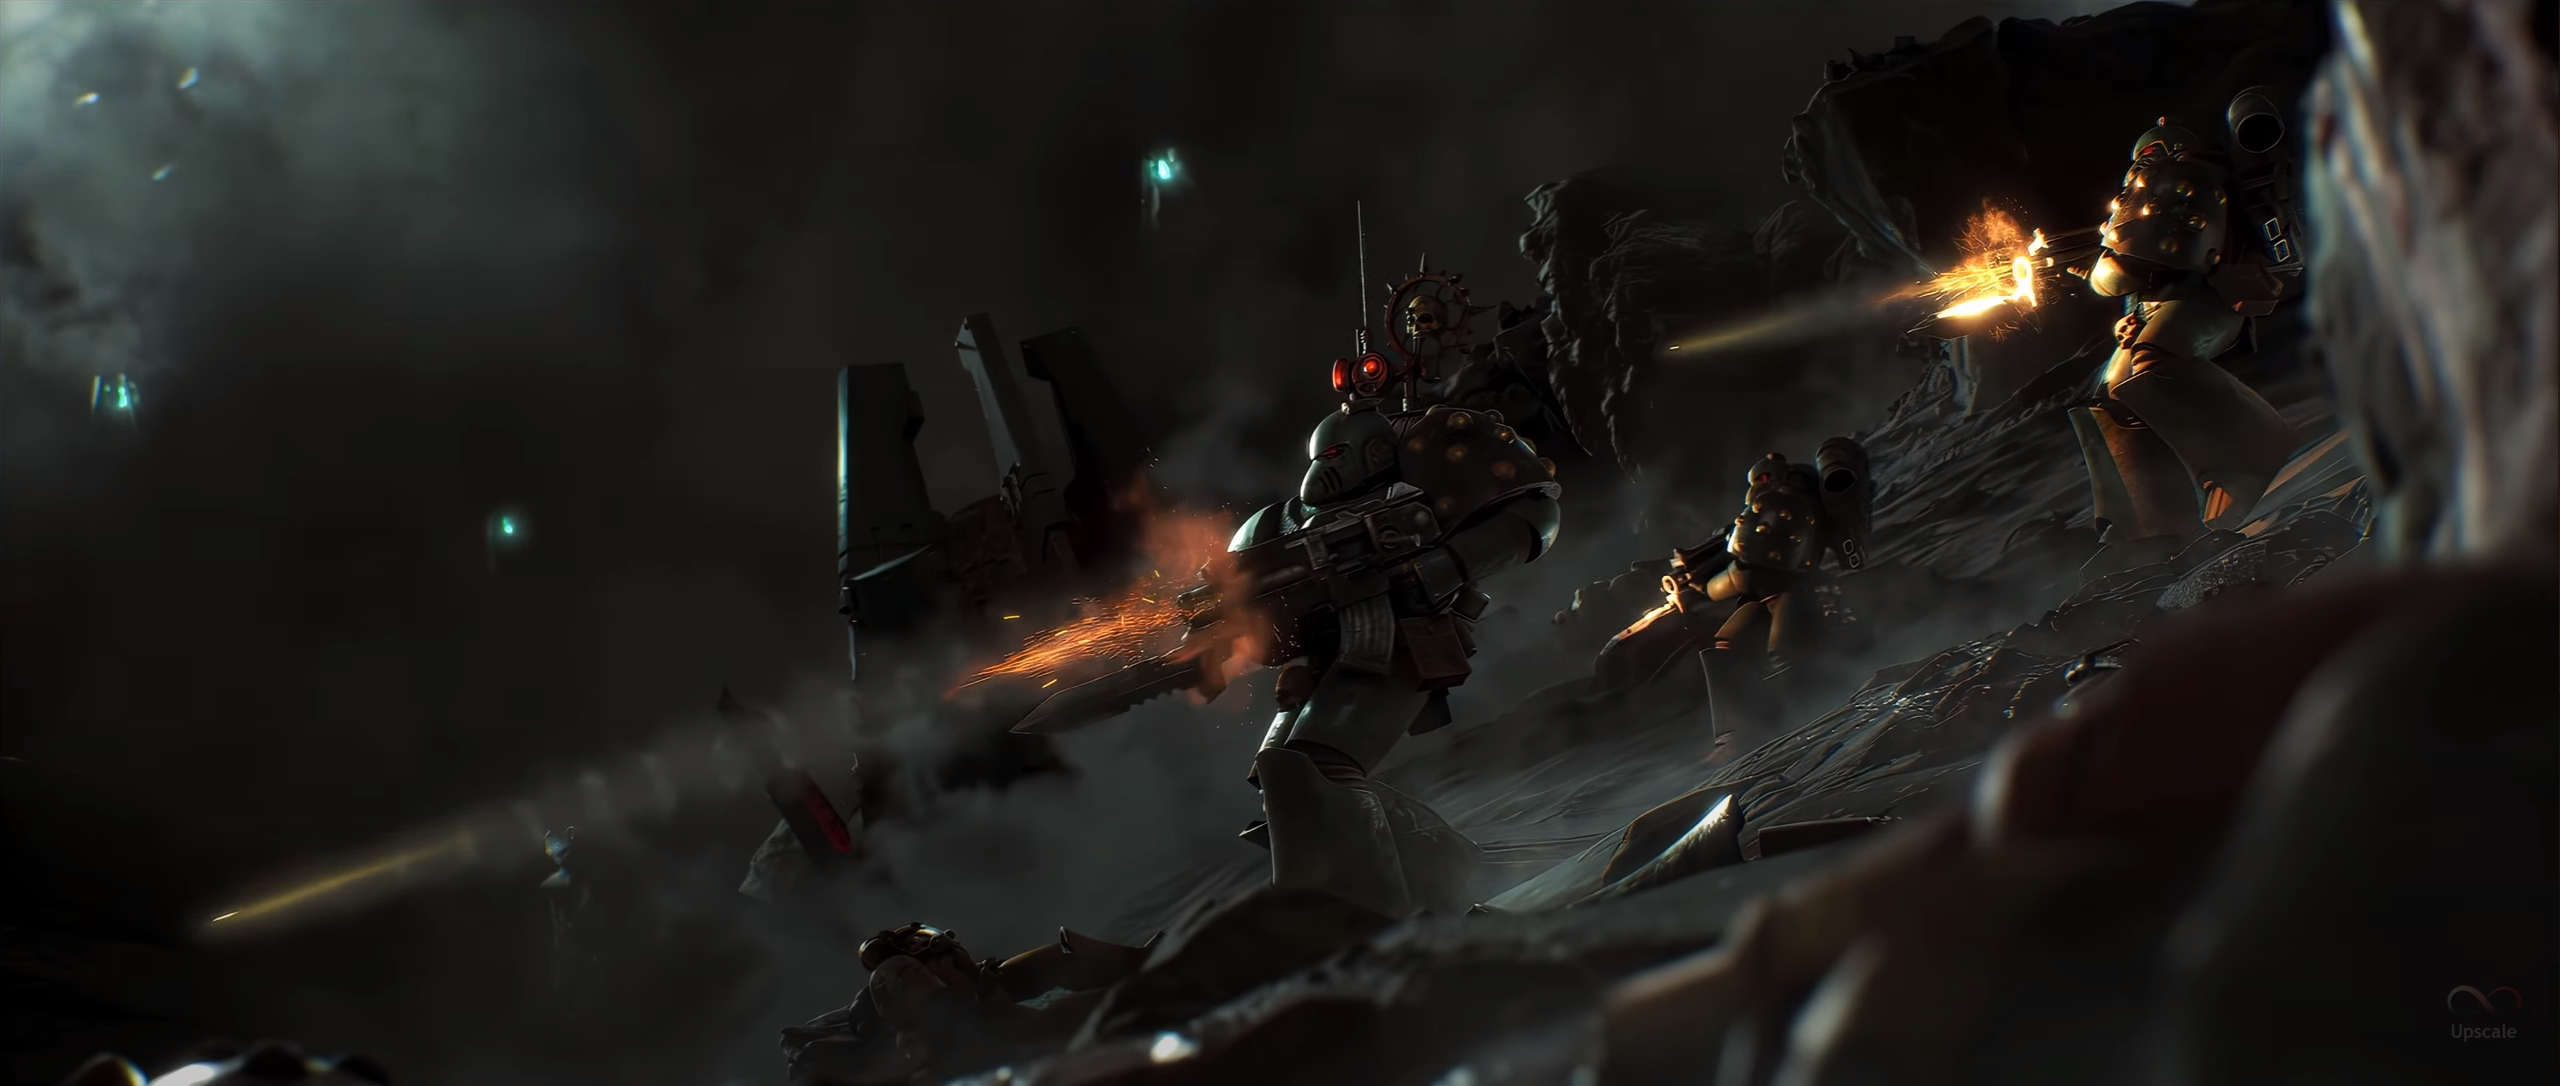
The Killing Blow mission represents a desperate gamble on the part of the attackers. Instead of launching a boarding mission against the target vessel’s more easily accessible launch bays or loading decks, they attack the outer, armoured skin ,in an attempt to cut through and strike directly into the vessel’s undefended and most vulnerable systems. A successful killing blow can conclude a hit and run attack before the defenders have even mustered to repel the boarders. If the attackers fail, they are doomed to a cold death as the void claims them.
At the end of the game, the Commander who has scored the most Victory Points has won the engagement. If the Commanders have the same number of Victory Points, the game ends in a draw.
Primary Objectives
The Attacker’s goal is brutally simple- they must hold the objective in order to destroy the vulnerable, unguarded systems below. The Defender must stop them at all costs.
The side who controls the objective when the game ends wins the battle.
Secondary Objectives
None.
Mission Debriefs: After you finish playing the above mission, ensure that one of the Commanders logs it in our system via the following Google form: https://forms.gle/gFNQJEq2UKnNqBV58.