“A dozen Legionaries fell to take that tower, and twice that number were grievously wounded. But take it we did, and in doing so, secured not only it, but a sector, a city, a peninsular and, at great length, an entire world.”
Unknown Legionary Captain
Legiones Astartes Imperial Fists
The Armies
For this mission, all Commanders should compose an Engagement Force from their Battle Company’s Regimental Registry, adding any additional Conscripts to their armies from the list of approved Horus Heresy publications provided by the Event Organizer (EO). The total points cost of the Engagement Force should not exceed 1,7500 Points.
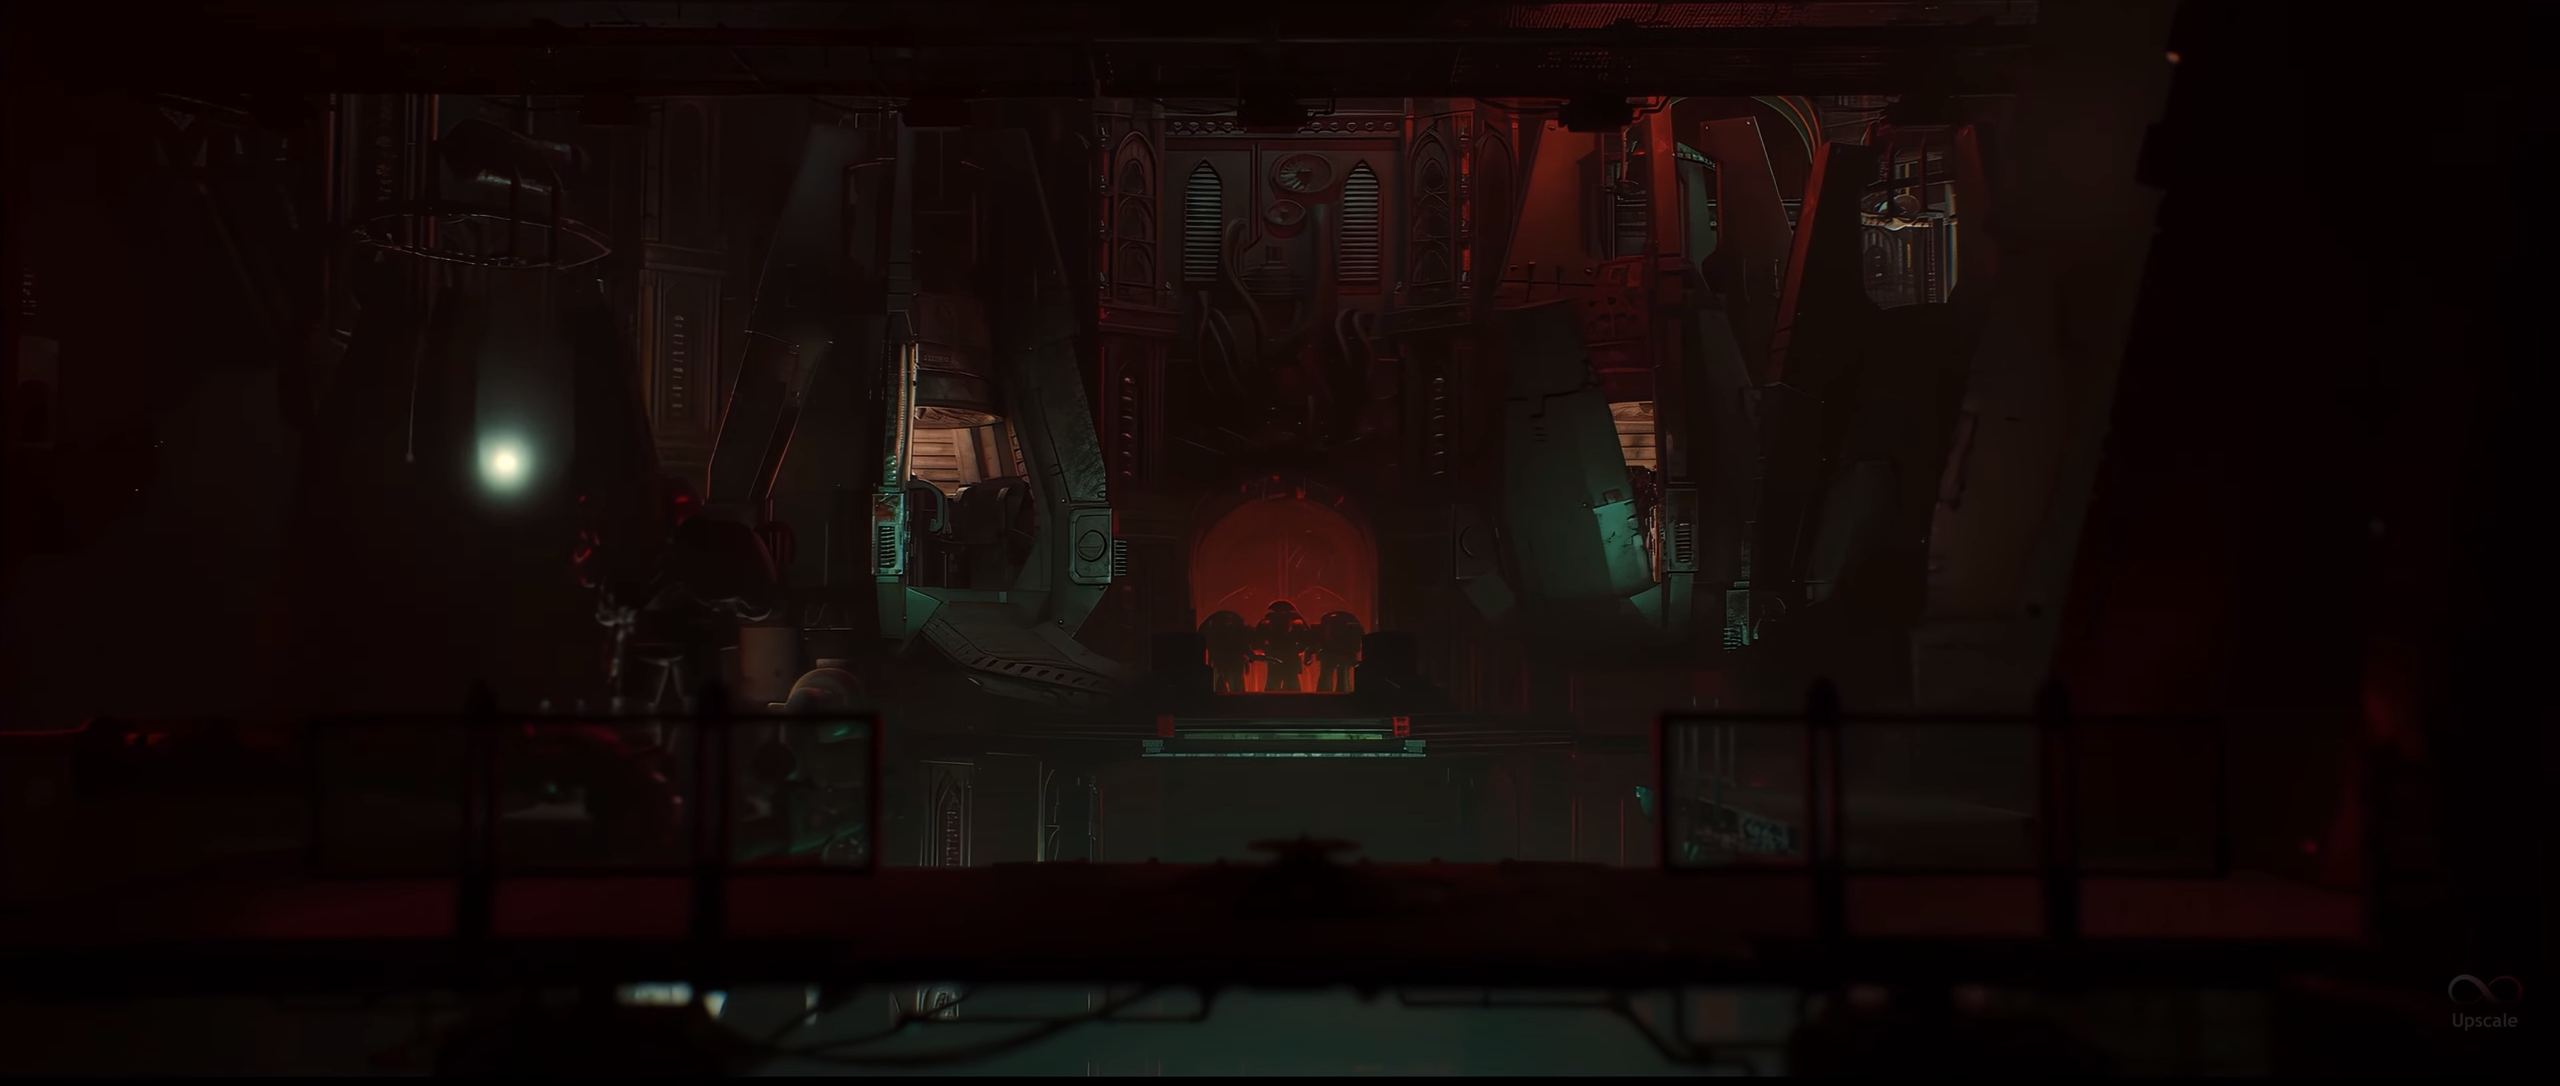
The Battlefield
Terrain will be set up to mimic the packed city streets of a colonial settlement on a 48” by 72” gaming board. The following are some guidances to help fill the narrative of building a shattered settlement:
- Place the tallest buildings towards the center of the Battlefield to break up lines of sight and encourage both sides to navigate the Ruins to achieve their objectives.
- Ruins and Buildings should be separated by 2” to mimic claustrophobic alleyways or 12” to represent local roadways.
- Add scatter terrain to the buildings and roadways to fill in the spaces and represent the belongings of former denizens strewn about.
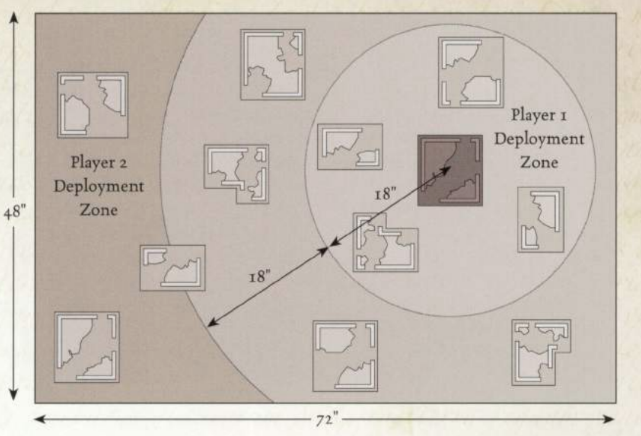
Deployment (The High Ground)
To Determine deployment order, the Commanders roll off. The winner may choose to become the Defender or the Raider, with the Defender deploying first. If there are more than two Commanders, split the Defender and Raider roles according to allegiance. The Defender may then choose a Table Edge as their Home for the purpose of determining the direction of Fall Back moves. The Raider chooses the opposite Table Edge.
The Commander which has declared themselves as the Defender holds the “High Ground” at the start of the game. This Commander then chooses a single Ruin/Building/Fortification anywhere on the Table. This is the Defending Commander’s Headquarters. The entire area within 18” of the center of this Headquarters is that Commander’s Deployment Zone. The Opposing Commander’s Deployment Zone is anywhere on the table not within 36” of the chosen Ruin, leaving a torus of 18” in diameter around the Ruin as No Man’s Land.
Special Rules
Reserves, Headquarters
Headquarters
The side defending the Headquarters may, if they wish, choose any one of the following special rules to define its exact type. Each option is numbered, allowing for the result to be randomized should both players wish. If possible, the terrain model in question should visually represent the type of Headquarters selected or, if this is not possible, a token or objective marker should be placed within its boundaries to clearly mark its importance.
All types of Headquarters are heavily fortified, granting a 3+ Cover Save.
-
Governor’s Palace: The ruin is that of a portion of the mansion once occupied by the planet’s High Governor; its erstwhile luxury and opulence now scattered across the fire-blasted ground. The ruler, or perhaps an heir or consort has taken refuge amongst the ruins or stands in their midst, defiant of the destruction that has befallen their world.
- Should a suitable model to represent the Governor or other worthy human be available, the Defender may place this in the Headquarters when they deploy their army (using the basic profile of a Solar Auxilia Legate Marshal from Liber Imperium, Page 74). The Defender may expend up to 25 points from their own Army’s total to upgrade this model as per its profile. This model has the Fearless Special Rule and while in the Headquarters confers this to all the Defender’s Units that have at least one model inside the footprint of the ruined building.
-
Defense Force Headquarters: The planet’s headquarters are all but destroyed, its general fled and its guards long ago slain. However, some vital systems remain functional among the ruins, and a lone badly wounded Strategos Magos refuses to abandon the Omnissiah’s archives whilst they remain active.
- Should a suitable model to represent the last Strategos Magos be available, the Defender may place this in the ruin when they deploy their army (using the basic profile of a Magos Auxilia from Liber Mechanicum, Page 28). The Defender may expend up to 50 points from their own Army’s total to upgrade this model as per its profile. The Strategos Magos may not voluntarily leave the ruin, and if they are forced to Fall Back away from it, they are counted as being killed and automatically removed as a casualty.
-
Astropathic Relay: The ruins once housed a relay station or broadcast chamber of the planet’s Astropathic Choir. All of the adepts have long since fled or been slain, and the arcane gear which once allowed them to transmit messages across the stars now bleed warp-static to plague the area with weird phenomena, and unnatural corposant balefire clings to and glimmers from every surface. The psychic echoes from the terror of the slain Astropaths’ desperate warnings of the oncoming slaughter linger yet, staining the ruins with a palpable aura which few can withstand.
- Any unit which makes an assault into the Ruin from a point exterior to the Ruin’s walls, must do so via a Disordered Charge.
- All Psychic Powers/Weapons (including Psychic Hoods) manifested within 24” of the Astropathic Relay suffer a +3 penalty to the results of their Psychic test.
-
Hidden Sub-Crypts: The ruins appear nondescript from afar, but in fact hide the entrance to a network of underground tunnels known only to the planet’s highest rulers and reserved for their own personal use.
- Once per Controlling Player’s Turn, a single Unit with the Infantry Type that has been held in Reserve may use the ruin itself as their point of entry onto the battlefield rather than normally via Reserves, exiting its environs as if they were disembarking from a Transport Vehicle. The Controlling Player may select any point within the Headquarters as the embarking point. However, there must be sufficient space for the Unit to be placed if this ability is to be used.
-
Atomantic Power Node: The ruin is one of the primary junctions for the city’s destroyed energy grid. Still active and rendered dangerously unstable by bombardment, the node is nevertheless a potent asset to the Defenders’ resistance against the invasion.
- The ruin grants any Unit inside it the Night Vision and Interceptor Special Rules.
- Once per game, the Headquarters’ Controlling Player can create a mass power surge, picking one quarter of the Battlefield to affect with the surge. For the duration of the Game Turn, all open ground in that Quarter of the Battlefield is classed as Dangerous Terrain.
-
Doomsday Vault: Hidden beneath the cracked stone floor of the ruin is an armoured chamber, within which is secreted an archaeotech device of unimaginable potency, whose lethal power is a hazard even to those who would defend it. The vault is attended by an ancient and wizened tech-savant, by whose efforts the terrors within are imprisoned and who, with but a word, has the power to activate the defensive measures designed to mercilessly slay whoever would breach the vault’s defenses.
- The defensive measures ensured by the Vault’s systems provide all models wholely within the Headquarters’ footprint a 5++ Invulnerable Save against all shooting attacks originating from the exterior, regardless of any Special Rules to negate this save.
- At the start of each game turn, roll a D6. On a roll of 1, all models within the Headquarters must take a Toughness test or suffer a Wound with no saves allowed (Damage Mitigation may still be applied).
- Once per game, so long as the Headquarters is in possession of the Defender and at least one of the Defender’s Units is wholely within the Headquarters’ footprint and neither are Falling Back or engaged in an Assault, a special attack may be made in the Defender’s Shooting Phase. Every model outside of the Headquarters and within 12” of it sustains a Strength 5 AP 3 hit with Fleshbane and Rad-Phage Special Rules.
First Turn
The Raider may decide to take the first turn or go second; their opponent, the Defender, may attempt to Seize the Initiative.
Game Length
After five turns, roll a D6. On a 4+, a sixth and final turn is played.
Victory Conditions
The “A Fortress Besieged” mission represents the two opposing sides of the Heresy attempting to gain control of the settlement’s once crowning jewel or defending their foothold within the gateway to the Nebula. At the end of the game, the Commander who has scored the most Victory Points has won the engagement. If the Commanders have the same number of Victory Points, the game ends in a draw.
Primary Objectives
- Fortified Position: The Commander in control of the Headquarters earns 5 Victory Points at the end of the
Secondary Objectives
- Last Man Standing: The side with the greatest number of surviving Units on the table that are not Falling Back at the end of the game gains an additional Victory Point.
- Enduring Hope: The Raiding Commander(s) scores an additional 2 Victory Points if at least half (rounding down) of the Units they began the game with are still in play at the end of the game.
- Tighten the Noose: The Raiding Commander(s) scores an additional 1 Victory Points for each Unit wholly within a Ruin which occupies the Battlefield’s No Man’s Land.
Tertiary Objectives
Slay the Warlord, Attrition, Price of Failure
Fruits of Victory
If the Victorious Player is in control of the Headquarters and Tighten the Noose is not in effect, speak with the EO regarding the type of Headquarters being held for a unique reward. If the Victorious Player is NOT in control of the Headquarters, they may select two Units from their Engagement Force to be Marked for Greatness instead of one.
Mission Debriefs: After you finish playing the above mission, ensure that one of the Commanders logs it in our system via the following Google form: https://forms.gle/gFNQJEq2UKnNqBV58.